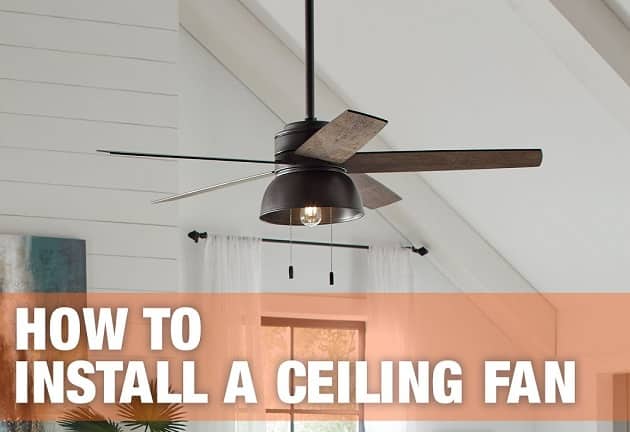
Installing a ceiling fan is one of the simplest tasks, which require no technical knowledge, nor any specific qualification. There are a few simple rules that you can learn and grasp within minutes. It is all about following the instructions adequately.
If you bought a new ceiling fan in recent days, you can find that installing instructions are included with the ceiling fan which can help you get the work done. However, those instructions might be inadequate due to the short and quick format. Here is the complete method to installation or fit and fix a ceiling fan.
Installation and Fitting Method
Make sure that you have all the required instruments like a screwdriver, live wire tester, and wire cutter before getting started with the installation process. To install a ceiling fan, you can follow these easy steps for effective work done –
- First of all, get all the things out of the box and start installing the pipe first. The pipe connected to the ceiling fan connects to the motor.
- Insert the bolt inside and fasten it to the adequate level, do not apply extra pressure. Now connect the metal handle over the top part.
- Take three small wires of 0.50 to 1-meter length and then connect them to the given columns. Use black, red and green wire for easier understanding.
- Remove the bolt from the top part of the ceiling fan and then connect it to the ceiling by getting it through the small rode.
- Once everything is connected, it is time to wire up black, red and green wires with the switch wires. In most homes, these wires are pre-installed and you have to connect them only.
- After connecting everything, it is time to install a small pin into every bolt so that the bolts don’t unscrew with time.
Everything is done and you have installed a fan adequately. For any trouble while wiring, you should always refer to the instruction for the wire’s colour scheme.
Note –Fans with light bulbs have extra wires which are directly connected to the main switch. If you are unfamiliar with the colour scheme of wires, then it will be an adequate choice
Fixing a Ceiling Fan
If your ceiling fan is not running at the optimal speed, then it is time to change the capacitor.
- First of all, turn off the live wire connected to the ceiling fan and wear safety gloves.
- Unscrew the wires of the capacitor connected to the fan and make sure that you take a picture to know that which colour was going to which screw.
- Get a new capacitor from the local electronic shop and buy a similar capacitor with the same capacity.
- Make sure that you do not touch wires of the capacitor because it can hold current. Once everything is done, and you have installed the new capacitor, install the canopy to the right place.
The fixing of ceiling fan speed related issues will be solved with this method. Keep in mind that you use the right ceiling fan capacitor so that you have no issues.
Finally, fitting a ceiling fan is one of the easy things and you can always use the installation guide that we have mentioned above. Keep in mind that ceiling fans are designed to offer a limited RPM. If you are trying to increase the speed by using a new regulator, then it might damage your fan by heating. The overall lifespan of the ceiling fan will be reduced by half. So, always use a compatible capacitor and do not interchange wires while installing a new ceiling fan.