Installing an exhaust fan in the kitchen is not rocket science, and you can do it yourself if you already have a duct or vent in the kitchen. You can save the money that you would pay professional by installing the exhaust fan yourself. Moreover, it should not take over 30 minutes to complete the process if you already have a duct in the kitchen. Below are step-by-step instructions to install, fix, & fit the kitchen exhaust fan.

1. Exhaust Hole
The first part of the process is to make the exhaust hole ready. If you already have an exhaust hole in the kitchen, you can skip this point, or you will need to cut a hole in the wall. This can be especially tough if your wall is made of RCC. In such a case, you would need to use a drill with a heavy bit to drill small holes in the wall and then you will have to cut the core to make the hole. Smoothen the hole and ensure that the size of the hole is exact.
2. Attaching Duct
The next point to follow is to connect the duct. If your kitchen is located on the house’s edge, you may not need an additional vent. Depending on the needs, you can install the duct and the duct elbow. This will help you ensure that the exhaust feed is expelled outside the home. If you don’t install the ducts, then the feed may expel the air in the house, which will make the house stinky and greasy.
3. Mounting the Exhaust Fan
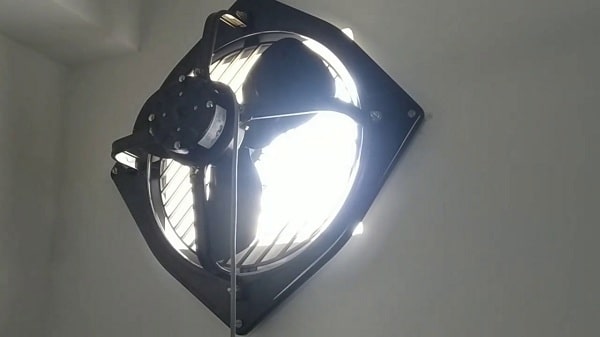
Now, you would need to mount the exhaust fan on the kitchen wall. In most cases, you will need to drill the holes, insert the socket and mount the exhaust fan. This is generally an easy process, and having a power tool can make this easy for you. Ensure that all the four screws are mounted, and using the socket will give you a secure mount. Once the holes have been drilled, you can mount the exhaust fan and install the front panel. Check for the fit and insert some packing if the fit is loose.
4. Connecting the Power
The last step is to connect the exhaust fan to the power. We assure you that you would have checked for the power outlet near the fan. Connect the power and insulate the live wires using insulation tape. Once the connection has been made, you can install the cover lid. In the last step, you need to turn the power and check if the fan is working correctly. You must also check for vibrations and rectify the same in case of excess vibrations.
Finally, this was all about installing and fitting the exhaust fan in the kitchen. The only constraint here is that your fan should be right sized according to the size of your kitchen. After that, without any help, you will be able to install and fix the exhaust fan in your kitchen.

Santosh Kumar is an editor at unfoldstuffs.com and a professional content writer. With years of experience he is passionate for creating engaging, informative and impactful topics.


