There is nothing more relief to life than a table fan during the summer. The heat is thriving and it is making you feel uncomfortable. Anyone sitting in a room even for few minutes without a fan can start sweating. Summers in India has an average temperature between 35˚ to 45˚ throughout the country.
You can buy a table fan online as well as offline, but there is nothing impressive as making a table fan at home. You need a little knowledge about the parts because this project is all about putting all the pieces of the puzzle in the right place. So, if you want to make your summer a little more interesting and want to work on a little DIY project, then hop on, because we are here sharing the details.
How Does a table fan works?
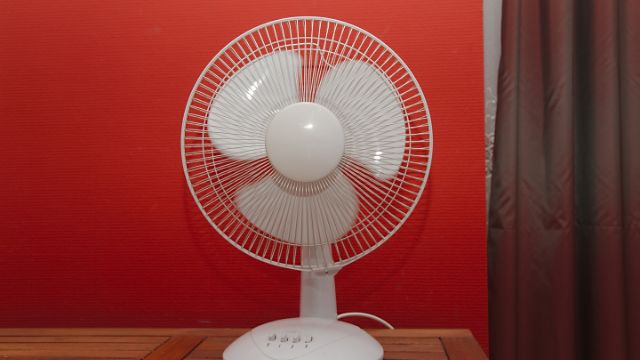
It is always better to understand that what you are working on. A table fan works on a simple mechanism. A DC motor is installed into the fan, which rotates on Direct Current. When you turn on a fan, AC voltage passes through the Bridge rectifier, Full-wave rectifier, or Half-wave rectifier, which you will learn about further in the article. Then the DC wires are connected to a switch and then to the motor.
Important Note –Currents are of two types, Alternative current (AC) and Direct Current (DC). In most countries, AC power is supplied to the homes so, you would need a converter to change AC into DC voltage.
What do you need to make a table fan?
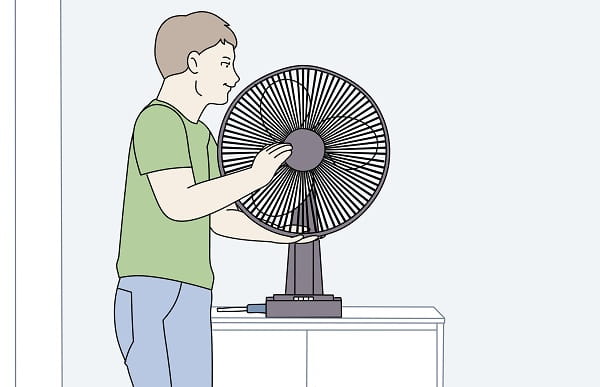
Before getting started, it would be an optimal choice to get all the essential tools and parts in one place. You would have to get –
- Screw Driver
- A 50w DC power Motor
- Compatible AC to DC converter
- Fan Blades
- Frame for Table fan
- Power cord
- Electrical Tape
- Voltage tester
- Protective gears
Once you have collected everything, follow the instructions.
Instructions:
To begin, you should wear all the safety gear and do not work on a metal surface, otherwise, it might be risky. Wearing shoes will be helpful and remove any metal jewellery to ensure a safe working environment.
- Start by equipping the motor into the table fan frame by removing the backplate. It will take a couple of minutes to figure out all the ports.
- Once the frame is open, insert the motor and connect the wires to the switch.
- Make sure that you connect the black wire to the switch.
- The switch will be connected to ac to DC converter.
- Once you have made all the wires connections, install the blade and secure it into the frame.
- As you have completed the wiring, check everything twice and use electrical tape to secure the connections.
- After completing the work, connect the wires and do not touch the table fan. Turn it on and then turn on the switch of the fan.
Make sure that you keep checking all the connections and power supply tested while working on the project. It is always recommended that you install the fan blade after checking whether the motor works after all the connections or notes.
Conclusion
Following all the steps in the right manner will help you build a table fan at home and it will be an easy project also. You can customize the method by adding a high power motor and using a slightly heavy frame to hold the fan in one place. Using an extra powerful motor extremely lightweight body won’t be able to handle the thrust created by the flowing air. So, we hope that you understand the basic science behind the working of a fan and how to create it.

Santosh Kumar is an editor at unfoldstuffs.com and a professional content writer. With years of experience he is passionate for creating engaging, informative and impactful topics.
