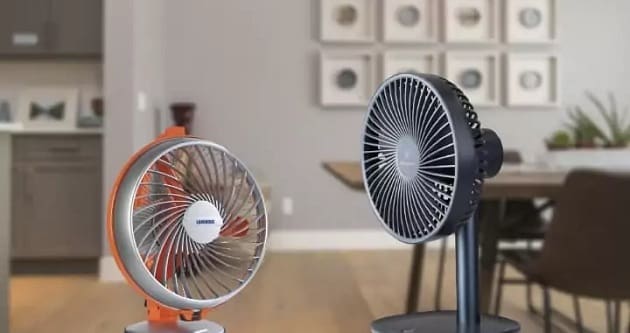
A rechargeable fan serves a great purpose during summers to provide you relief from the heat. Power outage is one of the common issues which can make you suffer from the hot weather and the most possible solution is to have an inverter. If you don’t want to invest such a hefty amount, then an affordable rechargeable fan seems like the best choice.
However, if you want to do a DIY and get it done yourself, then you can build a rechargeable fan at home. It might seem like a difficult job, but if you follow all the steps in an adequate manner, you can surely make a rechargeable fan with ease. Whether it is a school project, or you are doing it for yourself, building a rechargeable fan will be a fan job.

Here is a complete guide that will come in handy for this quick job –
Things you Need
Most of the below-given things are easily available everywhere and you can find ease buying these things online.
- A table fan frame
- Fan blade
- AC to DC converter and charger brick
- A 50w motor
- Screwdriver
- Battery
Once you get all the things, you will need some other instruments to connect wires and other stuff. You can learn about other tools while following the guide.
Procedure
Here is the step by step procedure to make a rechargeable table fan at home –
- First of all, the whole procedure starts by checking all the equipment like motor, battery health and the circuit board.
- Connect the motor into the frame and then install the rear protective grill. Once the grill and motor are installed, you can focus on the other stuff.
- This motor will be connected to the regulator to adjust the rotation and then the switch is connected to the battery through a circuit board.
- For further detail regarding wire connections, you can find complete guide videos regarding the board you are using.
- First of all, install the circuit board here and wire it to the battery. The power cord will also get into the same place.
In simple words, the AC power cord coming from the wall outlet connects to the circuit board, which is connected to the battery. When you turn on the power, the battery starts charging and you can use the fan lately. Once the battery is fully charged and the wire is disconnected, you turn on the power and from the switch in fan and the motor start rotating.
- To finish this process, you would have to connect the fan blade and then install the front grill.
- Once all the connections are made, check the fan by turning it on. If it works perfectly, you can finish it or install other things like a charging light indicator.
- Or, you can focus on installing a small light into the same to work as an emergency light when there is no electricity.
By following all these steps, you can create a rechargeable fan at home. Some people usually buy drone propellers to use as fan blades and they work great. However, those fan blades might be noisy sometimes.
Finishing it Off
To end the DIY project, you can look after connecting all the wires and checking their connections. You can charge the battery to maximum power and wait for it to turn on the indicator. You can use the fan at full speed setting and look after the maximum battery backup. To enhance the airflow, you can increase the rotation per minute. Thus, you can have an amazing experience with the rechargeable fan during the power outage.

Santosh Kumar is an editor at unfoldstuffs.com and a professional content writer. With years of experience he is passionate for creating engaging, informative and impactful topics.


